Whether you’re doing it just for you, because you want to showcase something that you’ve created and use Instagram as a marketing tool, or because you want to have a beautiful gallery to look back on in several years, there’s no doubt Instagram is here to stay.
But how are your favorite Instagrammers getting these photos that looks so perfect? How do they seem to always be wearing the right thing and be at the right place at the right time?
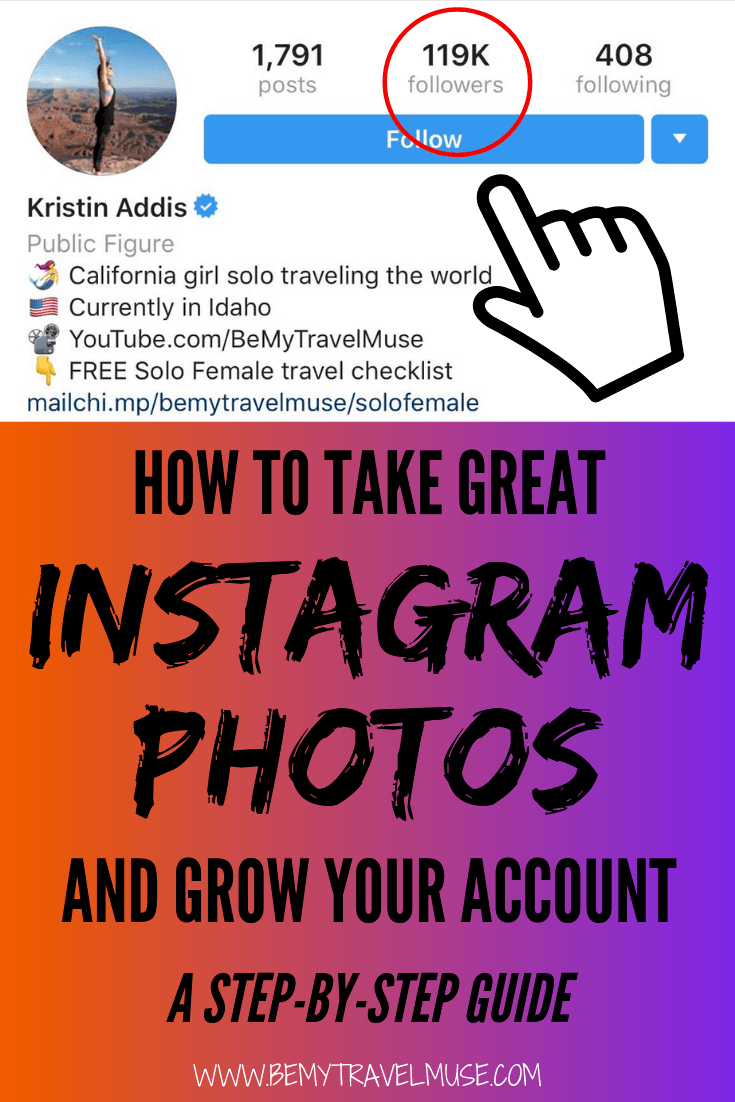
I’ve been working at Instagram for about seven years now. At first, I was putting up oversaturated, over filtered photos that are pretty embarrassing (they’re still on my account if you scroll back!) Then I started to put in a concerted effort to take better photos, to edit them in more realistic and appealing ways, and found a personal style that tells my story in the way that I see and experience the world.
This is my step by step system on how to take a great Instagram photos whatever your end goal may be:
Step One: Research
As you can see from the video, my first step to taking great Instagram photos is to research on Instagram! I research photo locations and plan my itinerary at the same time – talk about efficiency!
I’ll follow it up with research on Pinterest to see what angles people are getting, and that usually will lead me to blog posts that give me some helpful information on what I can do at each place.
The idea is not to copy anyone. As Tyra Banks said on America’s Next Top Model, Cycle 4, “Make it your own.” (anyone else love that show back in the day?)
The idea is to get some inspiration, add some must-see locations to your schedule, and to get an idea of the color palette, which leads me to the next step:
Step Two: Pack Accordingly
It might seem like overkill to pack specifically to match your surroundings, but if you really want to up your game, this is what people are doing to stand out. Just look at @Taramilktea to see what I mean.
I’m not advocating buying a new wardrobe every time you travel. It’s not about consuming like crazy, it’s about working with what you have to show your unique personal expression in your environment.
In the video you’ll see that I was heading to the Amalfi Coast in Italy. Once I saw that the main color palette would be blue, orange, and greens, I packed dresses, rompers, and even leggings that I felt would go well with that scenery. I worked with what I already had in my closet! Alternatively, check out thrift stores. It’s cheaper, supports the local economy, and has a very low environmental impact.
Step Three: Survey Your Surroundings
Even though you’ve probably already figured out some places you want to see and to photograph, don’t forget to be spontaneous. Once you’re ‘on the ground,’ survey your surroundings and think about ways that you can do something totally different than what you’ve seen before.
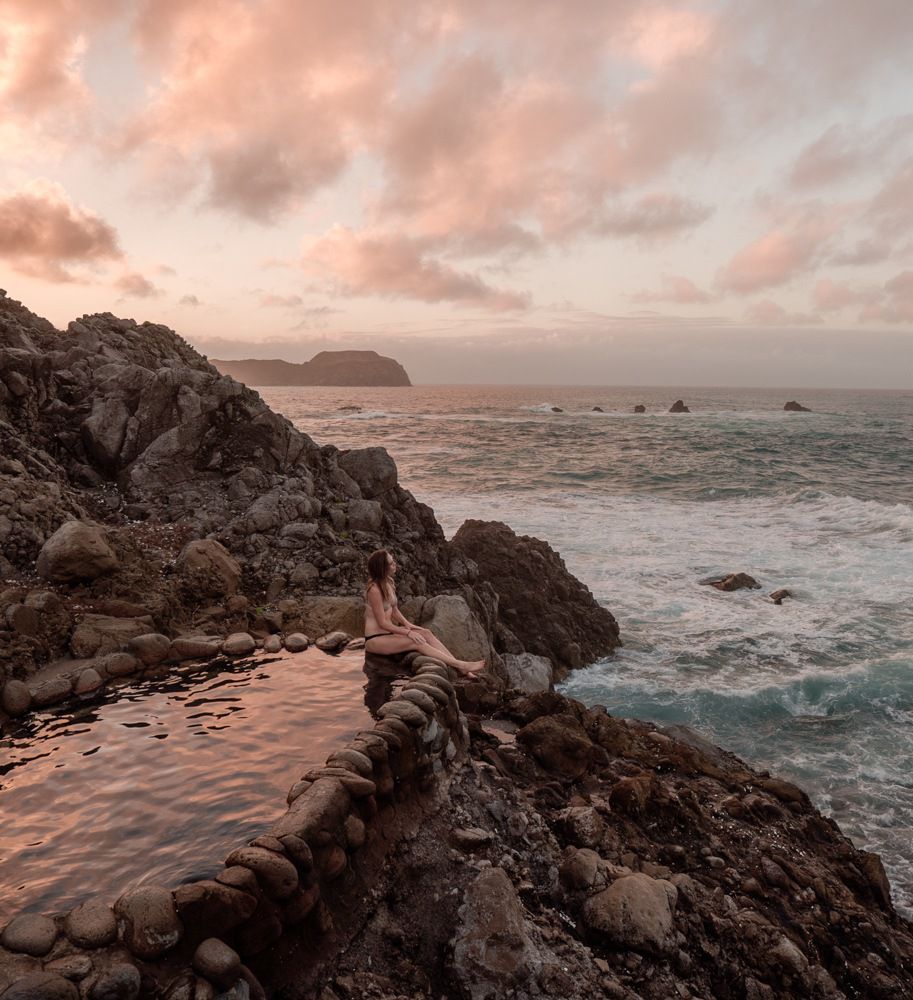
It could be trying a new angle, wearing or doing something different than everyone else who goes to the same place, or taking a photo somewhere that isn’t trending yet. Lots of people had pictures in Positano, but not that many people had photos in Praiano at night, so that gave me an opportunity to do something different:
View this post on Instagram
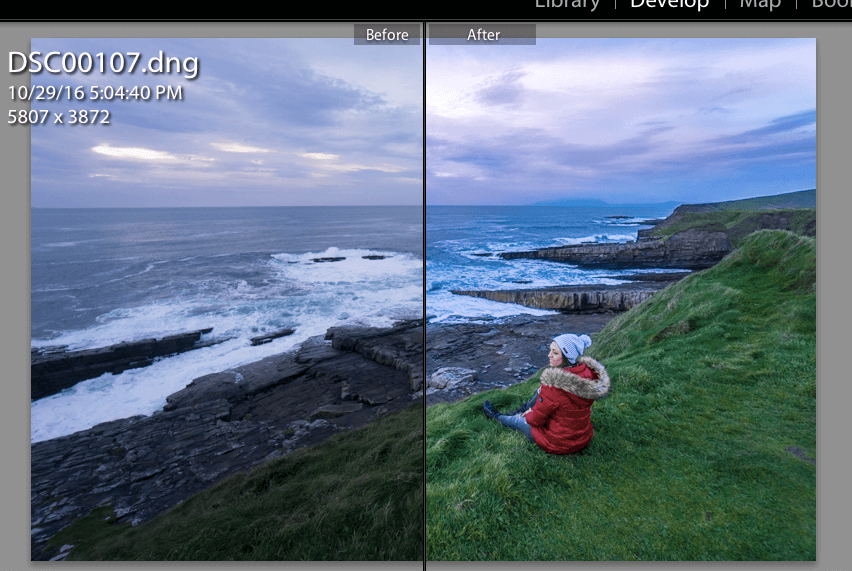
I always consider time of day for lighting, whether there are power lines cutting through the photo, whether the horizon is cutting through me somehow, and how much of the photo is stunning versus unsightly. Think about the foreground, and remember that symmetry is very pleasing, and everyone loves a sunset.
Like all things, being a good photographer takes practice and developing your ‘eye’, so don’t get discouraged if your art isn’t where you want it at first. Art and self expression is a voyage, not a destination.
Step Four – Taking Your Own Photos
View this post on Instagram
You’ll notice in the video that much of it is behind-the-scenes of me taking my own photos. That’s because most of the time, I travel alone, but I still want to be in my own pictures. For the first two years that I traveled, I was never in my photos and I realized that:
A. Anyone could’ve taken it and,
B. Social media is about the person, and people want to see you! As soon as I started putting myself in my photos, my account grew exponentially.
For more on how to pose in photos, I’ve set up a five day pose challenge that you can join for free here. It’s a skill that you can learn and it’s all about having fun and having confidence in yourself, too.
Step Six: Editing
We’re not done once we take the photo! Editing is a big part of the creative process and I can guarantee you that 99.9% of all of your favorite photographers edit their photos, the vast majority of whom are using Lightroom.
For $ 10 per month, you can get access to both Lightroom and Photoshop. Or, you can get the Lightroom app on your phone for free but it will have limited functionality. If you’re serious about doing this as a business, do yourself a favor and invest in Lightroom from the beginning. If this is just a hobby for you and you’re tight on cash, see if you like the phone version first.
Learning to edit is a process, and one that I go into a lot of detail in in my course, and I encourage you to learn this and make it your own. You could just buy a set of Lightroom presets sold by someone you follow, and that would be a good start, but then you give up one of the biggest parts of the creative process – the thing that makes that photo yours.
Final Step: Sizing and Posting
After all of these steps, remember that the cut of your photo matters. Will you put yourself in the middle, on the side, or will you follow the rule of thirds? Play around with it and see which crop looks best to you. For Instagram, I recommend a portrait style crop. They tend to do better because they take up more screen space when scrolling.
I hope this overview helped you out. Obviously, there is much more to this than what I’ve listed here, like getting the right equipment, learning how to use it, getting out of auto, specifically learning how to edit, and most importantly, learning how to become your own photographer and develop your unique style. I can guide you through the process every step of the way if you’re ready.
First, invest in your own self-confidence in front of the camera and try out my free pose challenge. This should be fun! And it can be. I’ll show you how.
For more on my specific camera gear you can click here.
Happy photographing and Instagramming! This is an art form that can be worth so much more than a pretty Instagram post. These are memories that you’ll look back on for a lifetime.